What Is Hardscaping — And Why Does It Matter?
If your yard is mostly grass and mulch beds, you're missing half the picture. Hardscaping is the non-living side of landscaping — the concrete, stone, pavers, and block work that gives your outdoor space structure, function, and real curb appeal.
Done right, hardscaping adds usable square footage to your home, controls erosion, manages water runoff, and honestly just makes your property look sharp. Done wrong, it cracks, shifts, floods, and becomes an expensive headache within a few years.
We've seen both outcomes plenty of times across Draper, Dublin, and Radford. This guide breaks down the three most common hardscaping projects — patios, walkways, and retaining walls — so you know what you're getting into before you spend a dime.
Patios: More Than Just a Slab
What Goes Into a Patio Installation
A lot of homeowners think a patio is just pouring some concrete or throwing down pavers. It's not. The work that happens before the first stone goes down is what determines whether your patio lasts 5 years or 25.
Here's what a proper patio installation actually involves:
- Excavation — We dig out the area to the right depth, typically 6–8 inches depending on the material and soil conditions.
- Base preparation — A compacted gravel base (usually 4–6 inches of crushed stone) is laid and leveled. This is the most critical step. Skip it or rush it, and you'll have a shifting, cracking patio within a couple of winters.
- Sand or concrete bed — Depending on whether you're using pavers or poured concrete, a bedding layer goes down next.
- Material installation — Pavers, natural stone, concrete, or brick are set, leveled, and locked in.
- Edging and jointing — Polymeric sand or mortar fills the joints. Edging restraints keep everything from spreading over time.
Patio Material Options
You've got choices, and each one has trade-offs:
Concrete pavers — Durable, relatively affordable, and available in dozens of colors and patterns. Brands like Belgard and Unilock make quality products you'll see on a lot of installs in the New River Valley. Expect to pay $15–$25 per square foot installed for a basic paver patio.
Natural stone (flagstone, bluestone) — Higher-end look, each piece is unique. More expensive — $25–$40+ per square foot installed — but it holds its value and looks incredible.
Poured concrete — The most budget-friendly option, starting around $8–$15 per square foot. Can be stamped or stained for a more finished look. Prone to cracking in freeze-thaw cycles if not properly reinforced.
Brick — Classic look, very durable. Similar price range to pavers. Less common for new installs but a great match for older homes.
Common Patio Mistakes to Avoid
- Poor drainage — If your patio doesn't slope away from the house (minimum 1/8 inch per foot), water pools against your foundation. That's a big problem.
- Skimping on the base — We've torn out plenty of DIY patios in Radford and Pulaski that failed because the homeowner laid pavers directly on dirt or a thin sand bed. Don't do it.
- Wrong size — A 10x10 patio sounds decent until you put a table and four chairs on it. Think about how you'll actually use the space.
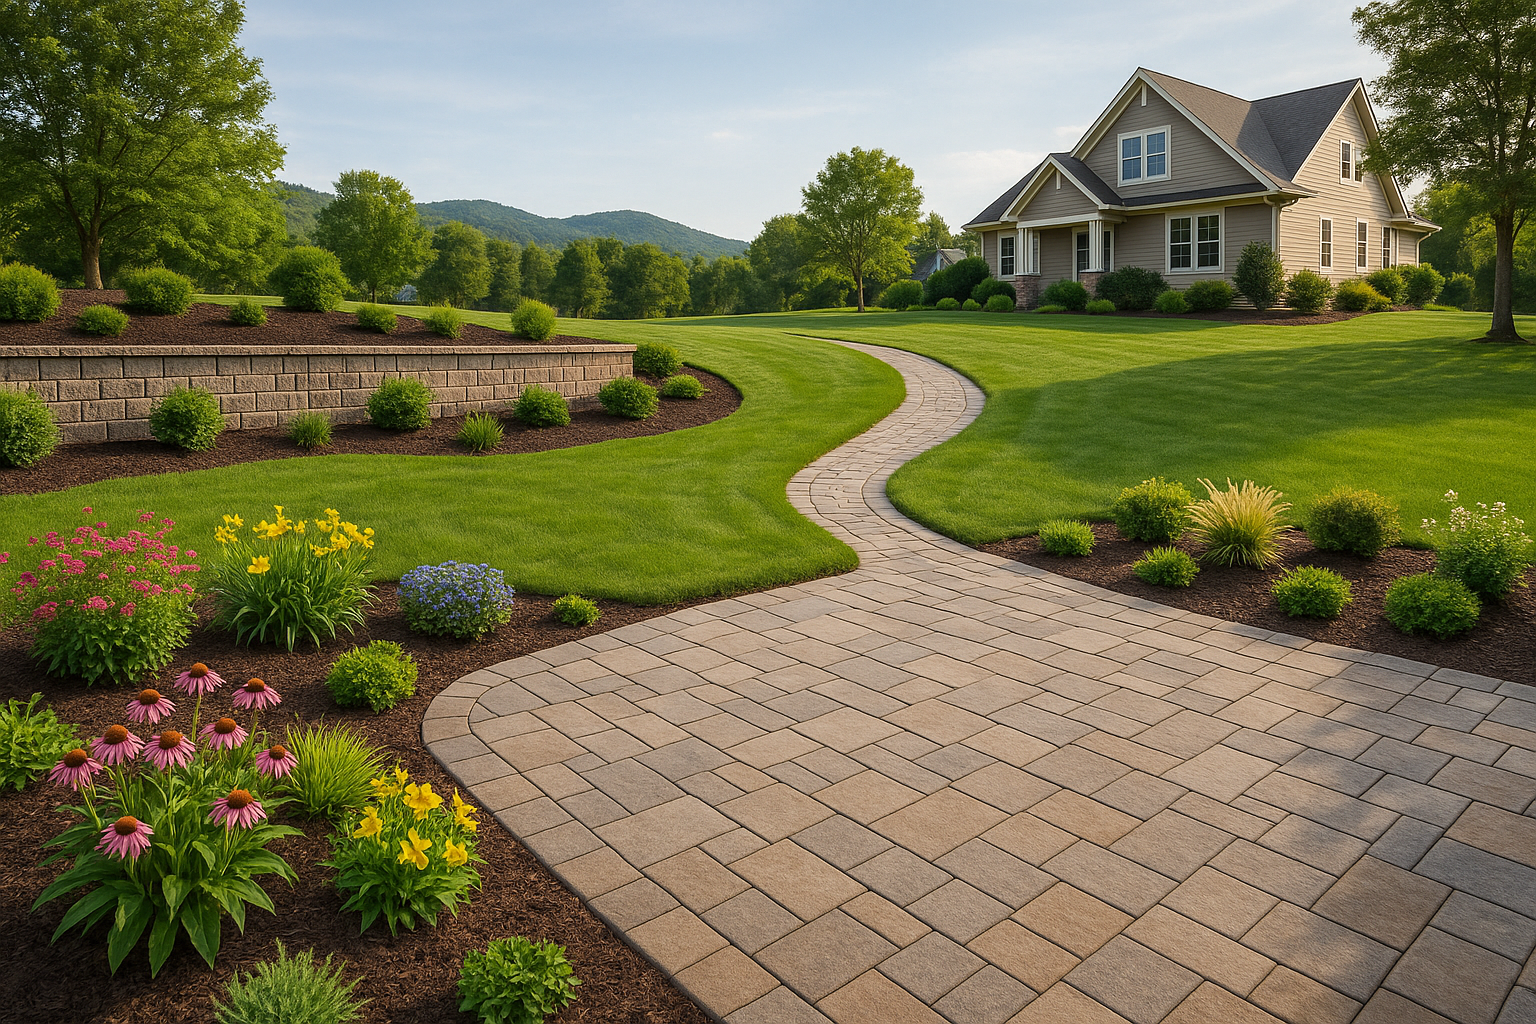
Walkways: Function First, Looks Second
Why a Proper Walkway Matters
A walkway isn't just decorative. It protects your lawn from foot traffic, keeps mud off your floors, and guides people safely from point A to point B. A well-designed walkway also ties your whole landscape together.
The same base preparation principles from patio work apply here. Compacted gravel base, proper bedding, good edging. The difference is scale and layout.
Walkway Width Guidelines
This is where a lot of DIYers go too narrow:
- Front entry walkways — 4 feet minimum. 5 feet if two people should be able to walk side by side comfortably.
- Side yard or garden paths — 2–3 feet is fine for single-file traffic.
- Service paths (to HVAC units, gates, etc.) — 18–24 inches works.
Curved vs. Straight Walkways
Straight walkways look clean and formal. Curved walkways feel more natural and can work around existing trees, beds, or grade changes. Neither is wrong — it depends on your home's style and your yard's layout.
One thing we always tell homeowners: if you're going curved, make sure the curve has a reason. A random S-curve in a flat yard just looks awkward. Curves should follow the natural flow of the land or work around an obstacle.
Walkway Material Options
Most of the same materials from patios apply — pavers, flagstone, concrete, brick. For walkways specifically, we also see a lot of:
- Stepping stones — Affordable and casual. Work well for garden paths. Not ideal for main entry walks.
- Gravel with edging — Very budget-friendly. Requires maintenance to keep tidy and isn't great for high-traffic areas.
- Exposed aggregate concrete — Textured surface, good traction, holds up well in Virginia winters.
Retaining Walls: Where Hardscaping Gets Serious
What a Retaining Wall Actually Does
If you've got a sloped yard — and a lot of properties in the New River Valley do — a retaining wall isn't just aesthetic. It's structural. It holds back soil, prevents erosion, manages water runoff, and can turn an unusable hillside into flat, functional space.
Get this wrong and you're not just looking at a cosmetic fix. A failed retaining wall can damage your foundation, flood your yard, or collapse entirely. This is not a weekend DIY project for anything over 2–3 feet tall.
Retaining Wall Materials
Segmental retaining wall block — Products like Allan Block or Versa-Lok are engineered specifically for retaining walls. They interlock, have built-in batter (backward lean), and are designed to handle real load. This is what we use most often.
Natural stone — Beautiful, but requires skilled installation. Dry-stacked natural stone walls are an art form. Done right, they last generations.
Timber/railroad ties — Cheaper upfront, but wood rots. We generally don't recommend timber walls for anything permanent.
Poured concrete or concrete block — Common for commercial applications or very large walls. Requires engineering for taller installations.
The Engineering Behind a Retaining Wall
Here's what most people don't realize: the wall itself is only part of the system. What's behind the wall matters just as much.
A properly built retaining wall includes:
- Compacted gravel base — The footing has to be solid and below the frost line.
- Drainage aggregate — Crushed stone backfill behind the wall lets water drain through instead of building up pressure against the wall face.
- Drainage pipe — A perforated pipe at the base of the wall carries water away.
- Geogrid reinforcement — For walls over 3–4 feet, layers of geogrid fabric are buried in the backfill at intervals to tie the wall back into the hillside. This is what keeps taller walls from tipping forward.
Skip any of these steps and you're building a wall that's going to fail. We've seen it happen to homeowners in Dublin and Draper who went with the lowest bid and got a wall with no drainage. Two or three wet seasons later, the wall is leaning or blown out entirely.
When Do You Need a Permit?
In Virginia, retaining walls over 4 feet in height (measured from the bottom of the footing) typically require a building permit and may need engineered drawings. Check with your local building department before starting. We handle this process for our clients so nothing gets missed.
Hardscaping and Your Overall Landscape
The best hardscaping projects don't exist in isolation. A patio looks better with the right plantings around it. A retaining wall becomes a feature when you add a garden bed on top. Walkways tie together your landscape design and give the whole yard a finished, intentional look.
If you're planning a larger project, it's worth thinking about hardscaping and softscaping together from the start. It saves money, avoids rework, and produces a much better result. Take a look at our project gallery to see how these elements come together on real properties.
What Does Hardscaping Cost in Virginia?
Here's a rough ballpark for the New River Valley area:
| Project | Typical Range |
|---|---|
| Basic paver patio (200 sq ft) | $3,000 – $5,000 |
| Natural stone patio (200 sq ft) | $5,000 – $8,000+ |
| Paver walkway (40 linear ft) | $1,500 – $3,000 |
| Retaining wall (20 linear ft, 3 ft tall) | $3,000 – $6,000 |
| Retaining wall (taller/engineered) | $6,000 – $15,000+ |
These are installed prices. Material costs alone will be significantly less, but if you're not experienced with excavation, base prep, and drainage, the savings often get eaten up by mistakes.
Ready to Add Some Structure to Your Yard?
Hardscaping is one of the best investments you can make in your property — when it's done right. At Veteran Lawncare & Landscaping, we bring the same precision to every patio, walkway, and retaining wall that Josh brought to his military service. We do it right the first time, because cutting corners isn't in our vocabulary.
We serve homeowners and businesses throughout Draper, Dublin, Radford, and Pulaski. Whether you've got a slope that needs a retaining wall or a backyard that's begging for a patio, we'd love to take a look.
Get a free quote or call us at 304-888-2969. You can also check out our hardscaping services to learn more about what we offer.
Let's build something that lasts.
Need Help With Your Lawn?
Veteran Lawncare & Landscaping serves Draper, Dublin, Radford, and Pulaski. Call us or get a free quote today.